A window can be well shaded in midsummer and still make a living room uncomfortable in autumn. The sun is lower, the room may still need cooling, and a roof overhang designed around one summer date may leave much of the glass exposed.
Our Passive Solar Shading Design Guide explains the main shading options. This article takes the next step: checking whether your chosen approach works during the transition between heating and cooling seasons.
The useful question is not simply “Does the overhang block summer sun?” It is “Does this room receive the right amount of sun when it is occupied?”
Why the solstice check is only a starting point
Sun position follows the calendar, while a building’s heating and cooling needs depend on weather, occupancy and the heat already stored inside. Similar solar geometry in spring and autumn does not guarantee similar comfort.
An overhang cannot respond to a warm spell. An operable screen can, but only if its position, controls and use are part of the design. The U.S. Department of Energy identifies shading and other controls as components of a coordinated passive solar system in its Consumer Guide to Passive Solar Home Design.
Start with the room and its exposure
Choose one room rather than treating the entire house as a single solar collector. Record the window orientation, glass area, external obstructions and the hours when people use it. A morning workspace and an afternoon living room can require different responses.
Use Site & Climate Analysis to establish local conditions. Then revisit Passive Solar Windows: Sizing, Placement, and Comfort if the opening is unusually large or the room has several glazed façades.
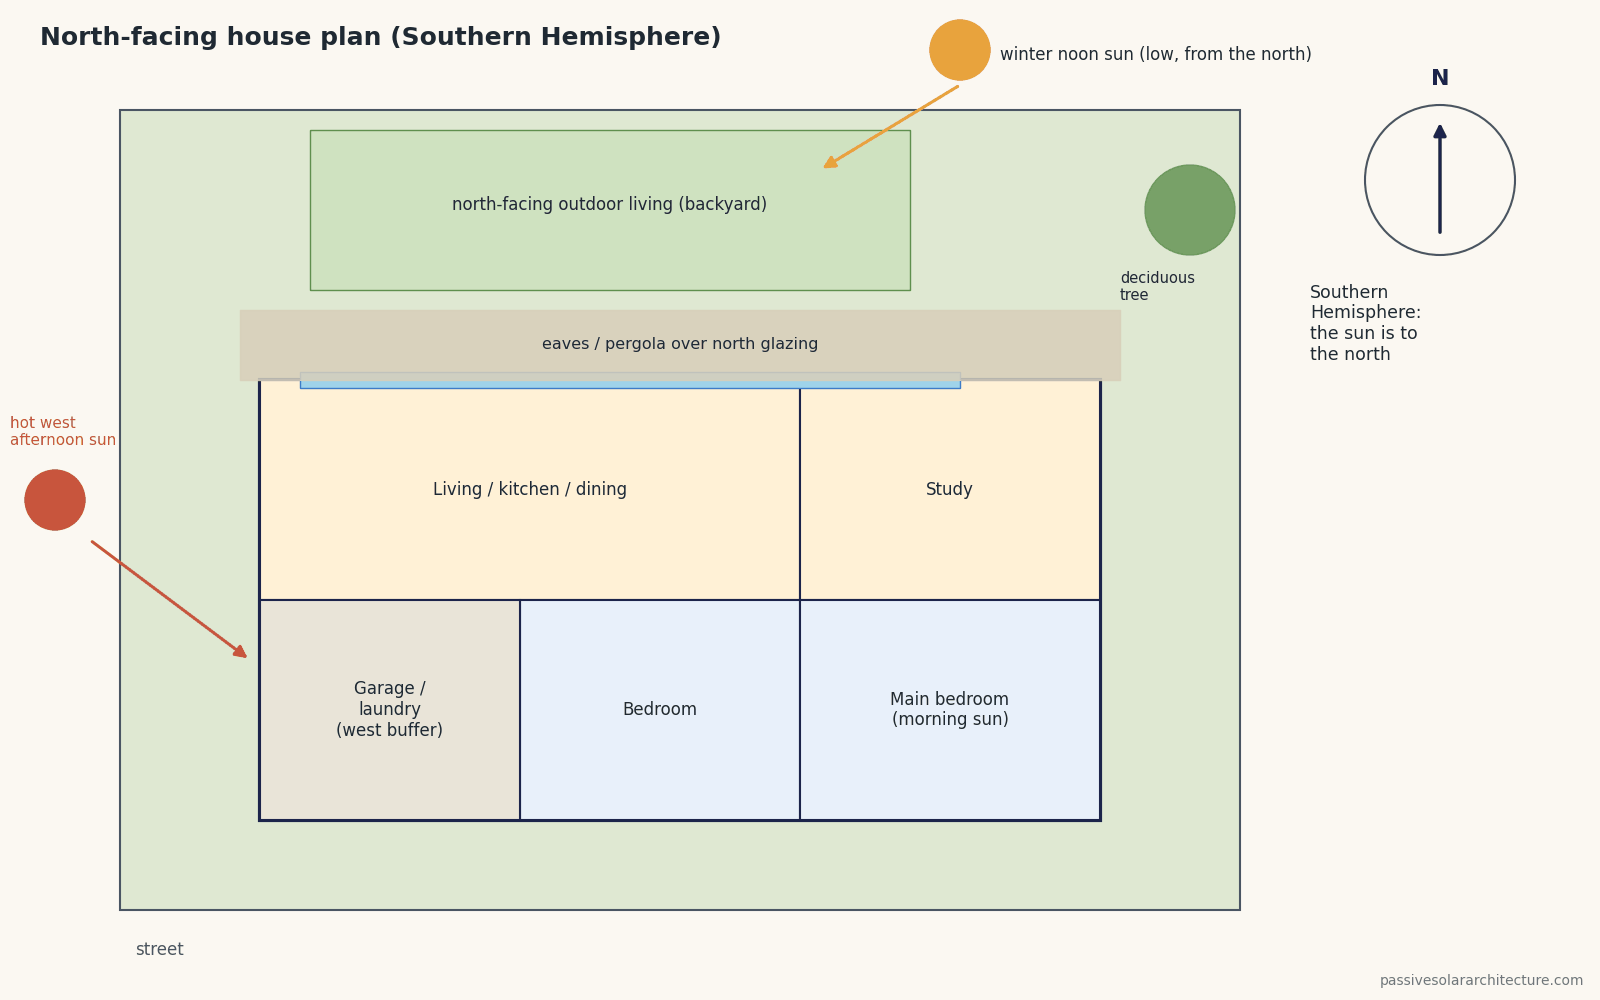
At mid-latitudes, equator-facing glazing means south-facing in the Northern Hemisphere and north-facing in the Southern Hemisphere. In the tropics the sun can pass to either side of the building during the year, so check each façade using the actual local sun path.
A five-step shoulder-season shading review
1. Select dates from local conditions
Choose periods when heating demand is falling and periods when summer warmth persists. Add a representative warm spell. March and September are not universal design months: seasons reverse between hemispheres, and some climates have wet and dry seasons instead.
2. Check occupied hours
Use the Solar Angle Calculator for morning, midday and afternoon on your selected dates. Enter the actual coordinates, local clock time and correct UTC offset, including daylight saving where applicable. Clock noon is not necessarily solar noon.
Record both altitude and azimuth. Altitude describes how high the sun is; azimuth describes its compass direction. A sun position is an input to the shading review, not a prediction of room temperature.
3. Apply the sun position to real geometry
Mark the overhang projection, its height above the window, window recess and side extensions in a section and plan. Check whether sunlight can enter from beside the shading device. A narrow canopy and a continuous eave do not cast the same shadow.
The Roof Overhang Calculator can support an early comparison. Read the calculator assumptions and limits before applying results. For oblique sunlight, finite overhangs and irregular façades, use a three-dimensional shadow study rather than relying on a single vertical section.
4. Review heat, light and use together
For each test, note whether direct sunlight falls on occupants, a work surface or exposed thermal mass. Also ask whether shade makes the room too dark. A device that prevents heat gain but requires lights throughout the day may need a different position or configuration.
If the room is already warm, admitting sunlight onto its concrete floor adds heat to storage. Thermal mass changes the timing of heat exchange; it does not make unwanted solar energy disappear.
5. Compare an adjustable option
Test the fixed overhang alone, then with an exterior screen, shutter or awning. Record what happens when that device is open and closed. Consider wind exposure, access for maintenance, the view and whether occupants can operate it easily.
Glass choice affects how much heat the exposed parts of a window admit. See Solar Heat Gain Coefficient (SHGC) for typical values and how to choose them by orientation.
A simple review sheet
- Conditions: date, time, weather scenario and room use.
- Sun: altitude, azimuth and relevant obstructions.
- Shade: which parts of the glass and room remain exposed.
- Comfort: desired solar gain, unwanted glare and daylight needs.
- Response: retain geometry, adjust the screen, reduce glass or investigate further.
This sheet is a comparison aid. A shadow study cannot establish annual cooling demand or an overheating pass/fail result.
Example: an autumn afternoon living room
Consider an illustrative mid-latitude home with equator-facing living-room windows and a west-facing side window. The fixed eave shades the main opening during high summer sun, but an autumn afternoon study shows direct sun entering below it and through the side window.
Before deepening the eave, compare a movable exterior screen on the west window and seasonal shading at the main opening. A deeper permanent projection may sacrifice useful winter daylight. If glare and heat persist, review glazing area and specification as well as the device.
This is a design scenario, not a measured project or a claim of energy savings.
Connect shading to the cooling plan
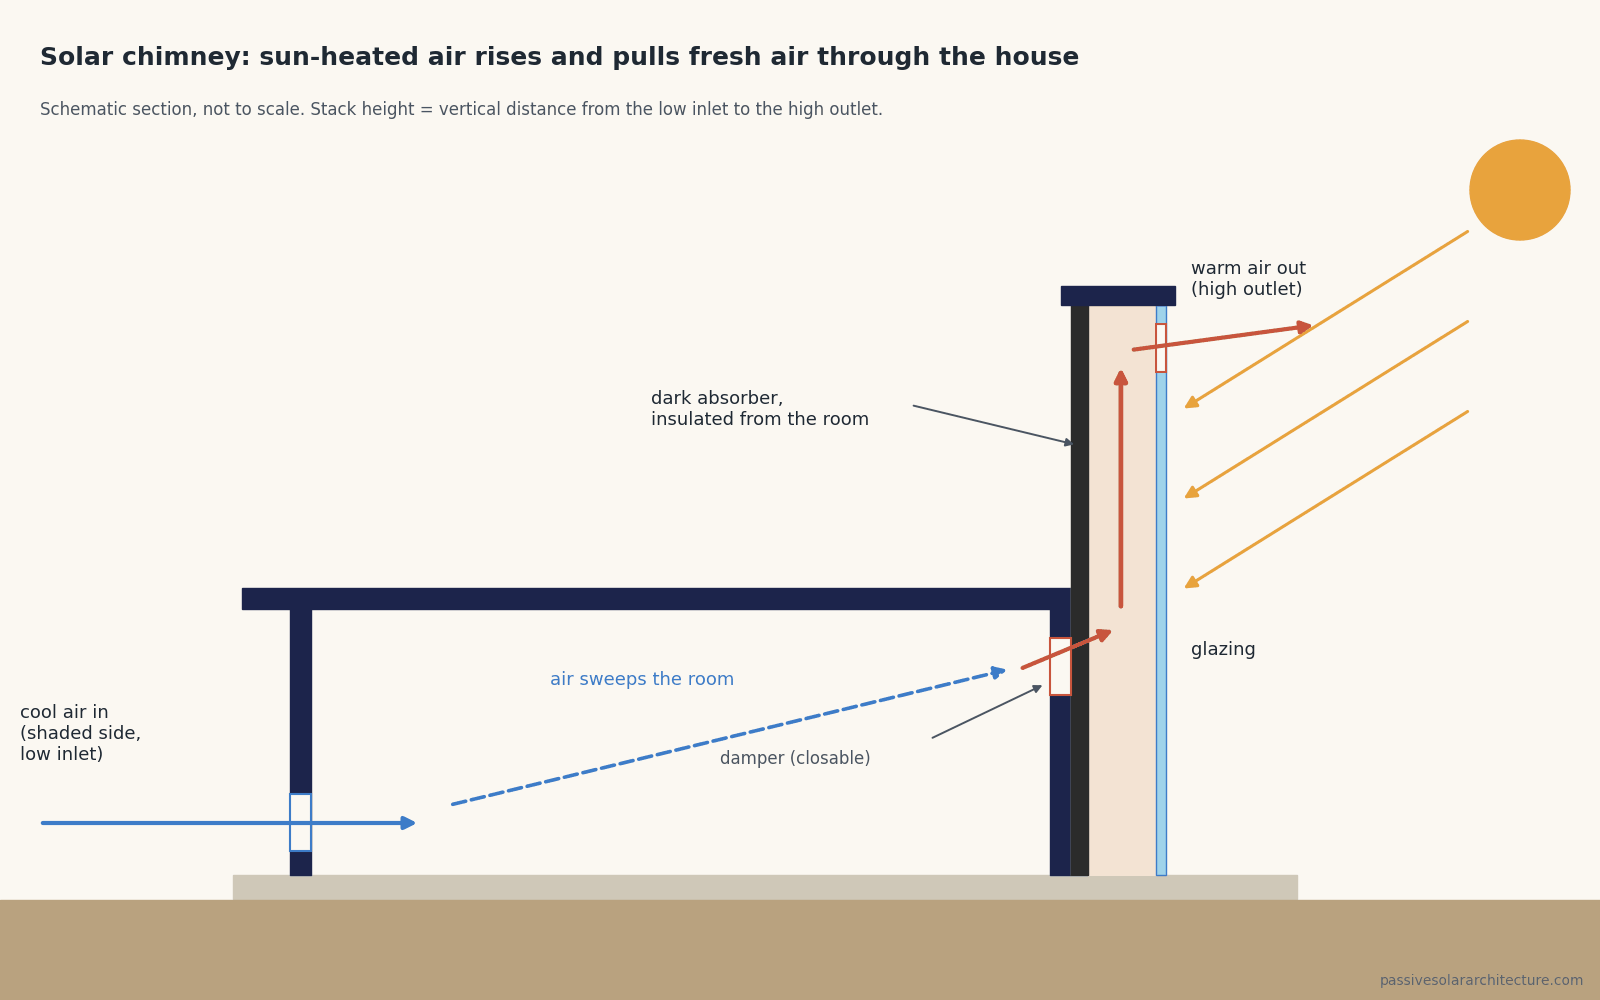
Once unnecessary solar gain is controlled, check how stored heat can leave the building. Our companion article on night ventilation and thermal mass explains that next step.
Before fixing dimensions, bring the seasonal review into the Passive Solar Design Checklist. For a real project, combine local weather data, actual geometry and whole-building analysis. The goal is a comfortable room across changing conditions, with a shading strategy people can use.
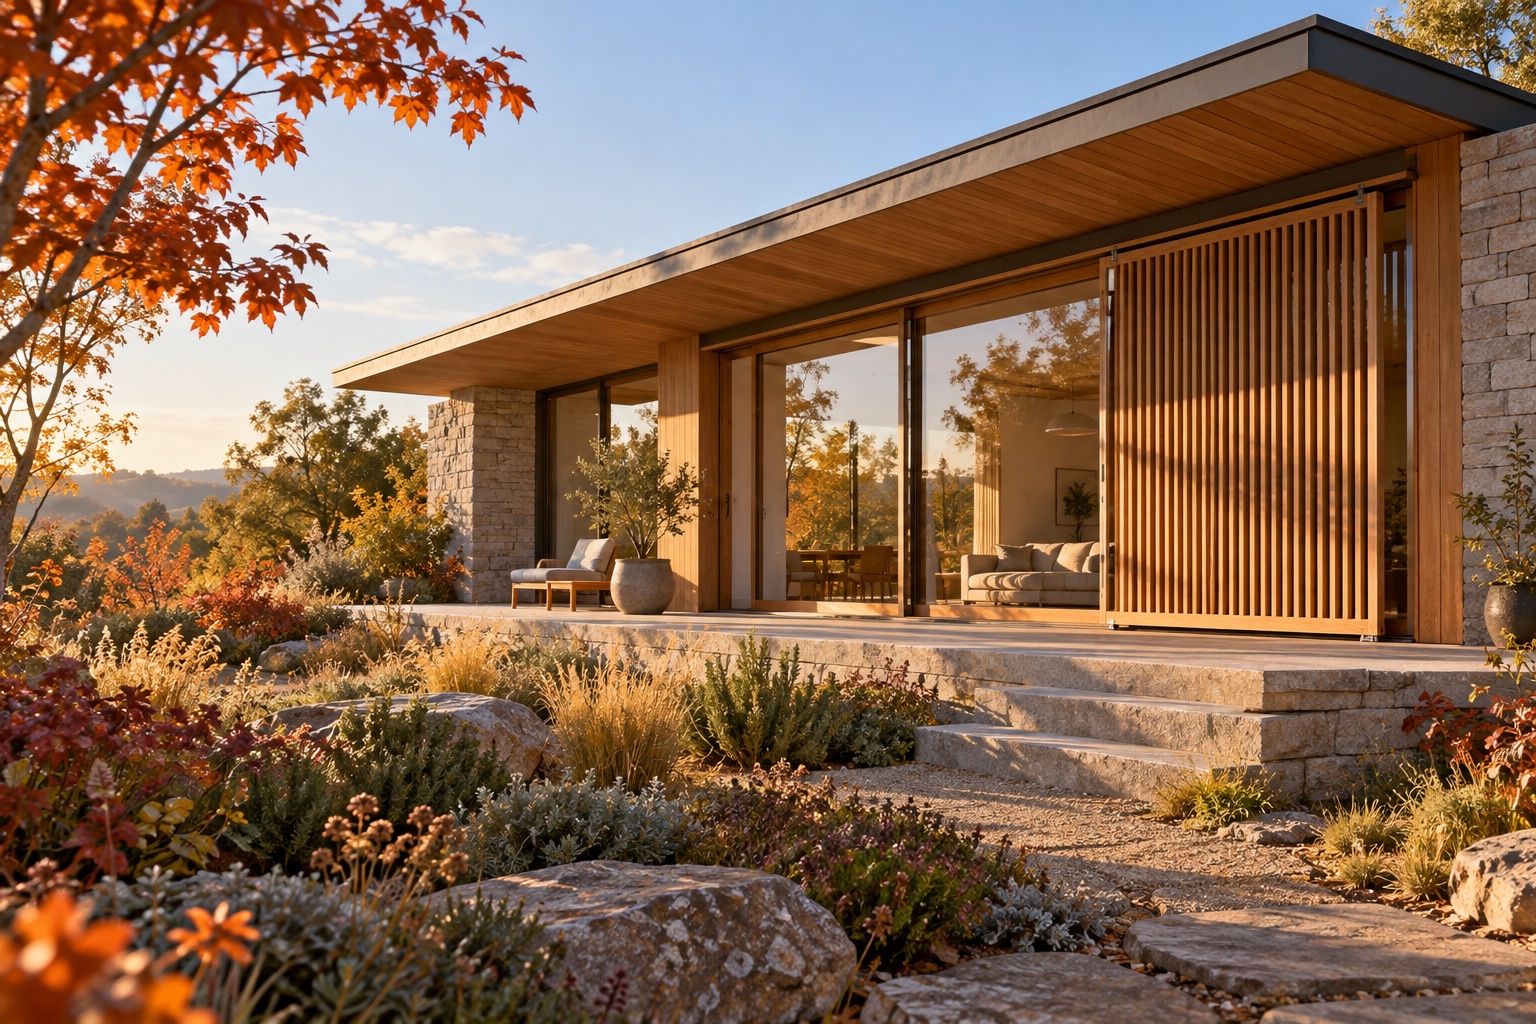
Featured image: AI-generated architectural concept illustration; not a built project or a performance simulation. Published and editorially checked: 10 October 2026. Educational concept guidance; final dimensions and overheating assessment require project-specific review.
Next step: check your own project
Try the ideas on your own project with the free passive solar design tools. It is free and runs in your browser.
Keep your results in one place
The free Passive Solar Design Checklist & Project Brief is a printable PDF with pages for your site’s sun angles, orientation, glazing per facade, shading and thermal mass, plus 12 questions to take to your architect or designer.